How to Change Labels and Columns in Sleek Bill Purchase Bills?
A warm welcome to all the users of Sleek Bill. Welcome to the Sleek Bill Knowledge Hub.
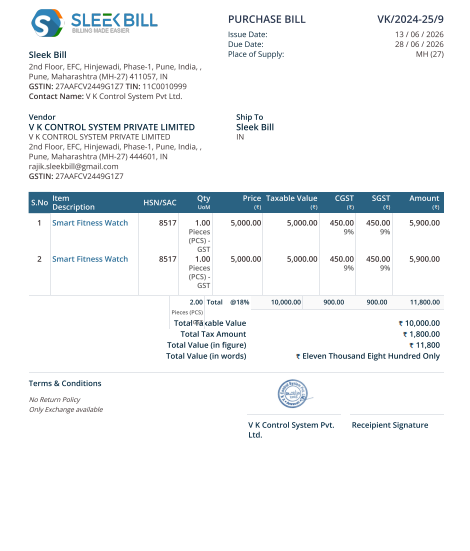
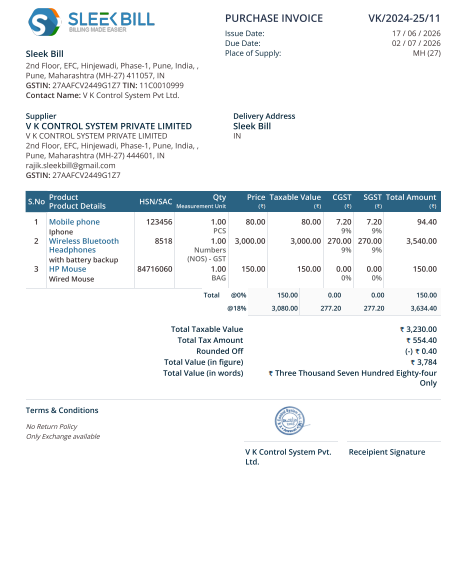
Purchase
Bills are a vital record for keeping track of purchases from vendors &
suppliers. Purchase Bills are used to
record the purchases for VAT and Tax purposes. Purchase Bills document a sale, enabling
the business to track and record expenses accordingly.
Purchase Bill below with the default setting.
Various
companies use different words in their buying document. They can go with Vendor in place of Supplier,
Item instead of Product, and give the custom names for the fields such as PO
Number, Terms, Quantity, and Unit Price.
Sleek Bill enables you to customize the Purchase Bill labels or column names as per your business needs, standards, or the language.
It allows you
to make your purchase orders clearer, more professional-looking, and more
consistent with your everyday work.
Why Do We Need to Change Purchase Bill Labels?
Customizing
Purchase Bill labels is a way for businesses to produce purchase documents that
are easy to read, well-presented, and specific to how they work.
Benefits of Custom Purchase Bill Labels
- Makes purchase bills look more professional
- Improves clarity for vendors and internal teams
- Matches document terminology with your business process
- Supports industry-specific naming conventions
- Makes purchase records easier to understand
- Helps maintain organized procurement documentation
How to
Change Labels and Columns in Sleek Bill Purchase Bills
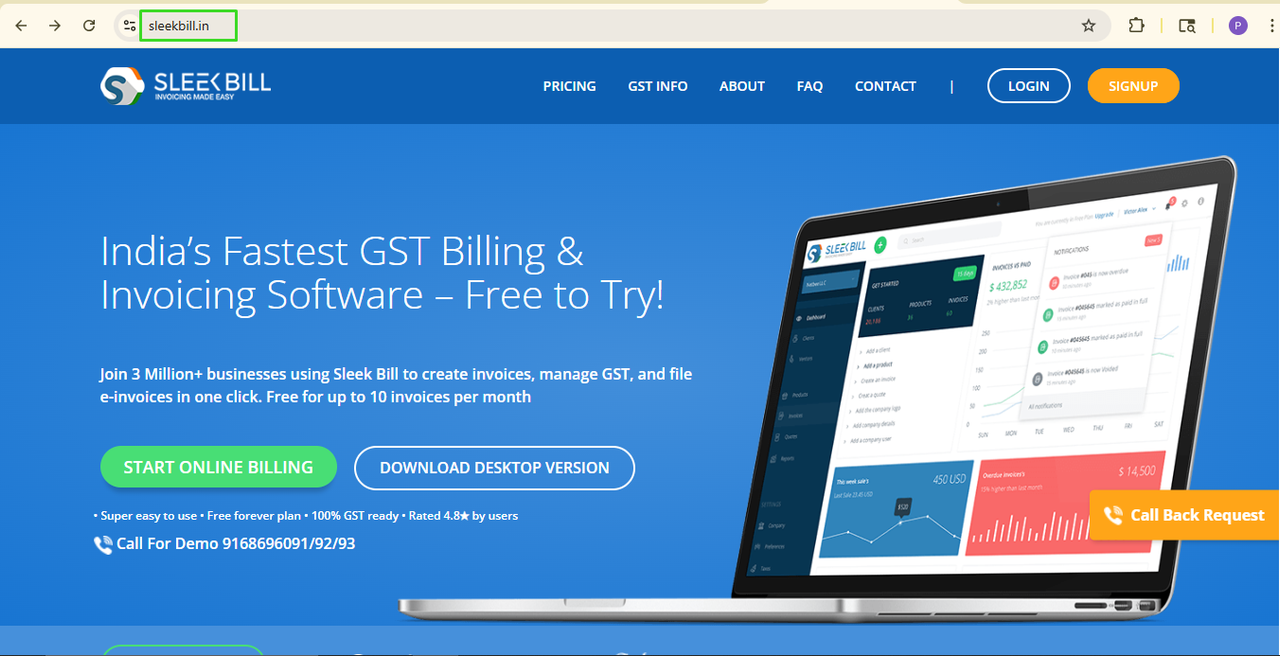
Step 1: Open
Sleek Bill Website
Open the official website: www.sleekbill.in
Step 2:
Click on Login Button
Click on the
Login button available at the top of the website.

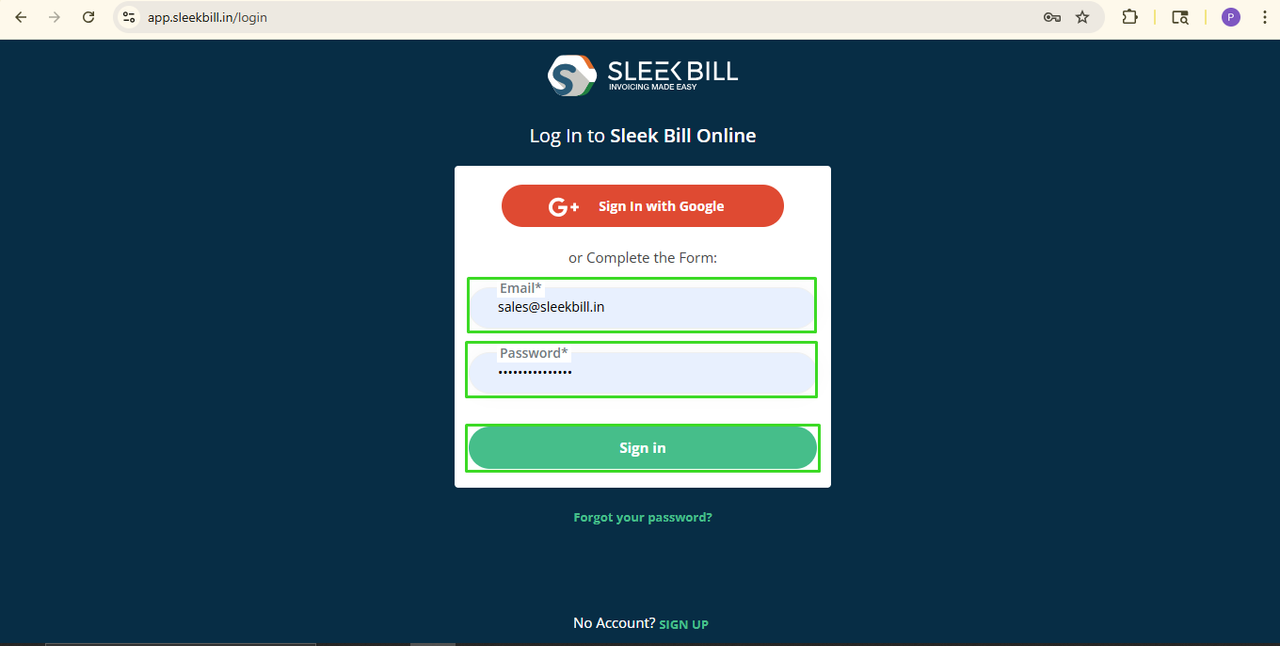
Step 3:
Enter Login Details
Enter your
login credentials and click on the Sign In button.
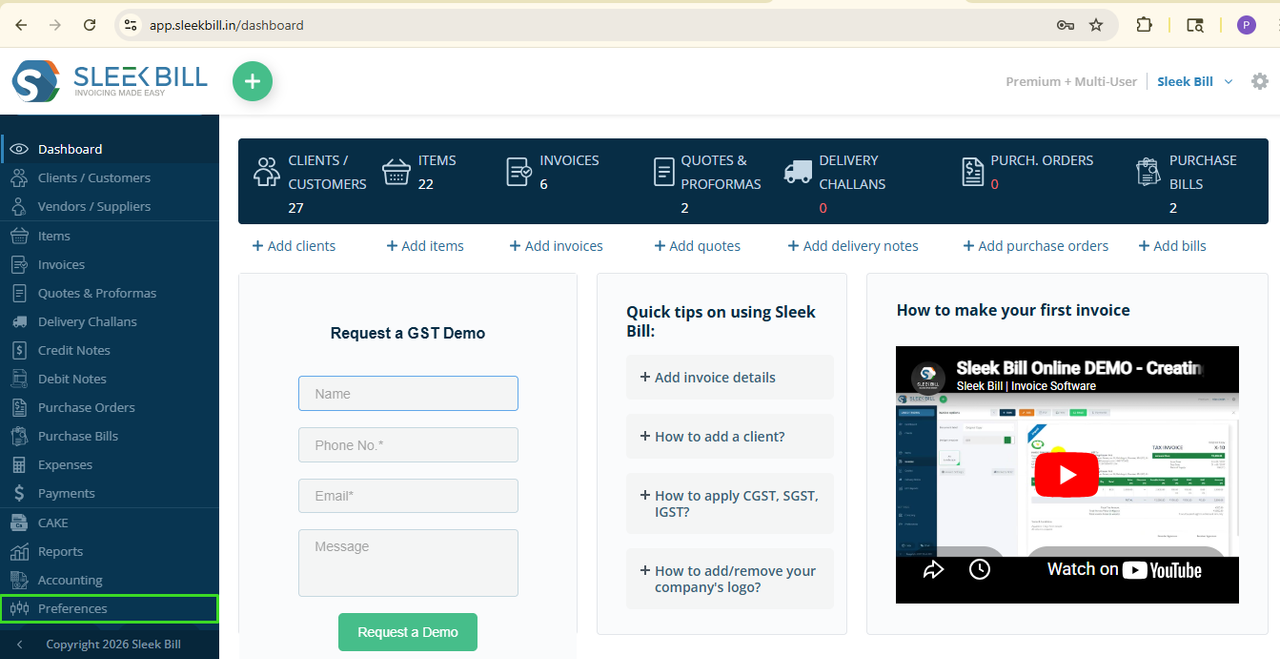
Step 4: Open
Settings
After logging in, you will enter the Sleek Bill dashboard. Now click on the Preferences option from the left-side menu.
Step 5: Open
Purchase Bills Settings.
Step 6: Click on Labels & Columns Tab.
Here you can customize various Purchase Bill labels and column names according to your business needs.

Step 7: Customize Labels and Columns. You can modify the following fields:
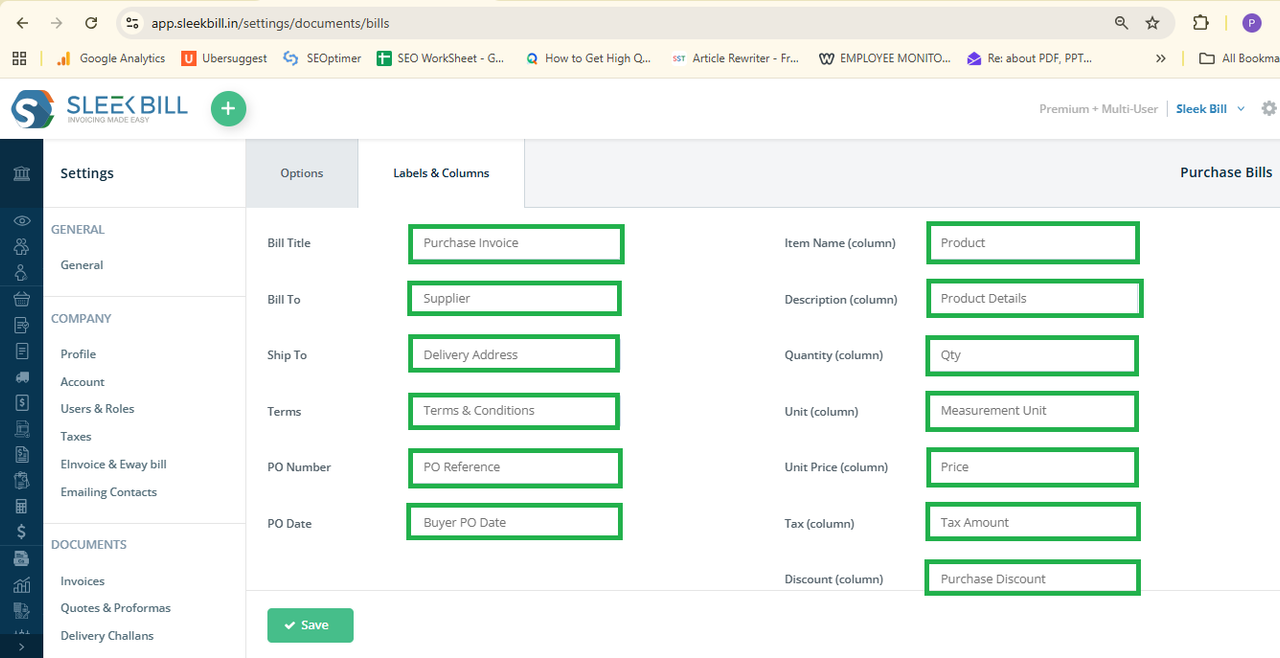
- Bill Title: You can change Purchase Bill Title labels like Purchase Bill, Purchase Invoice, Vendor Bill, Supplier Invoice, Purchase Voucher, Goods Purchase Bill, Procurement Invoice, Vendor Purchase Record.
- Bill To: You can customize Bill To labels like Vendor, Supplier, Seller, Purchase From, Vendor Name, Supplier Details, Supplier Information.
- Ship To: You can change Ship To labels like Delivery Address, Receiving Location, Warehouse Address, Goods Delivery Location, Destination Address, Delivery Point.
- Terms: You can customize Terms labels like Terms & Conditions, Purchase Terms, Vendor Terms, Trade Terms, Commercial Terms, Payment Terms, Purchase Notes
- PO Number: You can change PO Number labels to Purchase Order Number, PO Reference, Buyer PO Number, Order Reference Number, Purchase Reference, Vendor Order Number
- PO Date: You can customize PO Date labels like Purchase Order Date, Order Date , Buyer PO Date, Reference Date, Purchase Reference Date
- Item Name (Column): You can change Item Name labels like Product, Product Name, Goods , Material, Inventory Item, Item Description
- Description (Column): You can customize Description labels like Product Details, Item Details, Goods Description, Material Description, Product Specification, Purchase Description
- Quantity (Column): You can change Quantity labels like Qty , Ordered Quantity, Purchased Quantity , Product Quantity,Units Ordered, Quantity Purchased
- Unit (Column): You can customize Unit labels like UOM, Unit Type, Measurement Unit, Product Unit, Item Unit, Quantity Unit
- Unit Price (Column): You can change Unit Price labels like Price, Rate, Purchase Rate, Cost Per Unit, Item Rate, Unit Cost
- Tax (Column): You can customize Tax labels like GST, Tax Amount, GST Rate, Applicable Tax, Purchase Tax, and Tax Percentage.
- Discount
(Column): You can
change the Discount labels like Discount %,
Purchase Discount, Vendor Discount, Item Discount, Discount Amount, Special
Discount
- Total (Column): You can customize Total labels like Amount Total Amount, Line Total, Item Total, Net Amount, Purchase Amount, Total Value, Extended Amount
- Shipping (Column): You can change the Shipping labels to Shipping Charges, Freight Charges, Transportation Charges, Delivery Charges, Packing & Forwarding Charges, Logistics Charges, Handling Charges, Shipping & Packaging Charges
- Custom Field 1 & Custom Field 2: You can use Custom Field 1 for Vendor Reference, Transporter Name, Vehicle Number, Warehouse Location, Batch Number, Purchase Category, and Delivery Instructions.
What Happens
Next?
When you save your settings, then all new Purchase Bills will have the new labels and column names.
This will
allow you to create Purchase documents using the language you use to run your
business, making speaking easier and clearer with the Vendors/Suppliers, and your
accountancy team.
Conclusion
Modifying the labels and columns names in Sleek Bill Purchase Bills is very easy but very powerful. It enables companies to make very professional purchase documents fitted to their workflow.
If your
labels are compatible with your business practices, documents will become more
comprehensible, entering your data will become more straightforward, handling
of Purchasing will become more rapid. Thanks to Sleek Bill‘s custom features,
you will be able to tweak your Purchase Bills in no time and generate flexible
documents.
Was this article helpful?