How to Add a Signature in Sleek Bill?
Welcome to the Sleek Bill Knowledge Hub, adding your signature to invoices and business documents just makes everything professional and trustworthy. If you’re using Sleek Bill, it’s very easy to slip in a digital signature, so your documents are clearly verified and officially good to go.
Why bother with a signature? Well, it’s simple a signature tells people your document is checked properly and approved.
Why Signature Important:
- Your document is clearly authentic and approved.
- Clients and partners know they can trust you.
- Everything looks sharper and more professional.
- You’ve got proof for financial or legal needs, just in case With Sleek Bill, you don’t have to settle for just typing your name.
You can upload an actual image of your signature, which really makes your documents stand out and look polished.
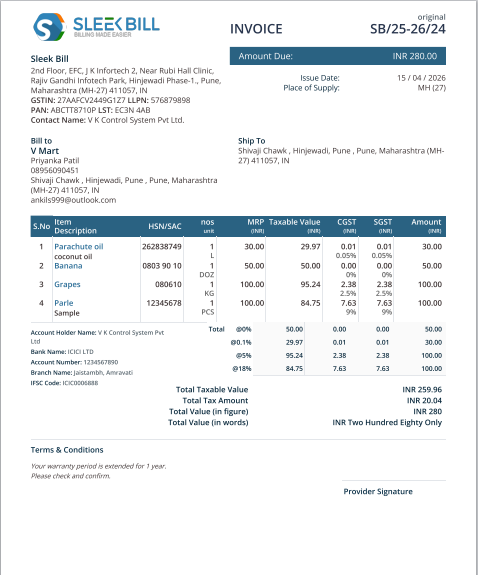
Here is Document before add signature in Sleek Bill.
Steps to Add a Signature in Sleek Bill Step A: Upload Your Signature
Step 1: Open your browser and type www.sleekbill.in
 Step 2: Once Site open Click on Login button.
 Step 3: enter your Email ID and Password click on Sign in button.
 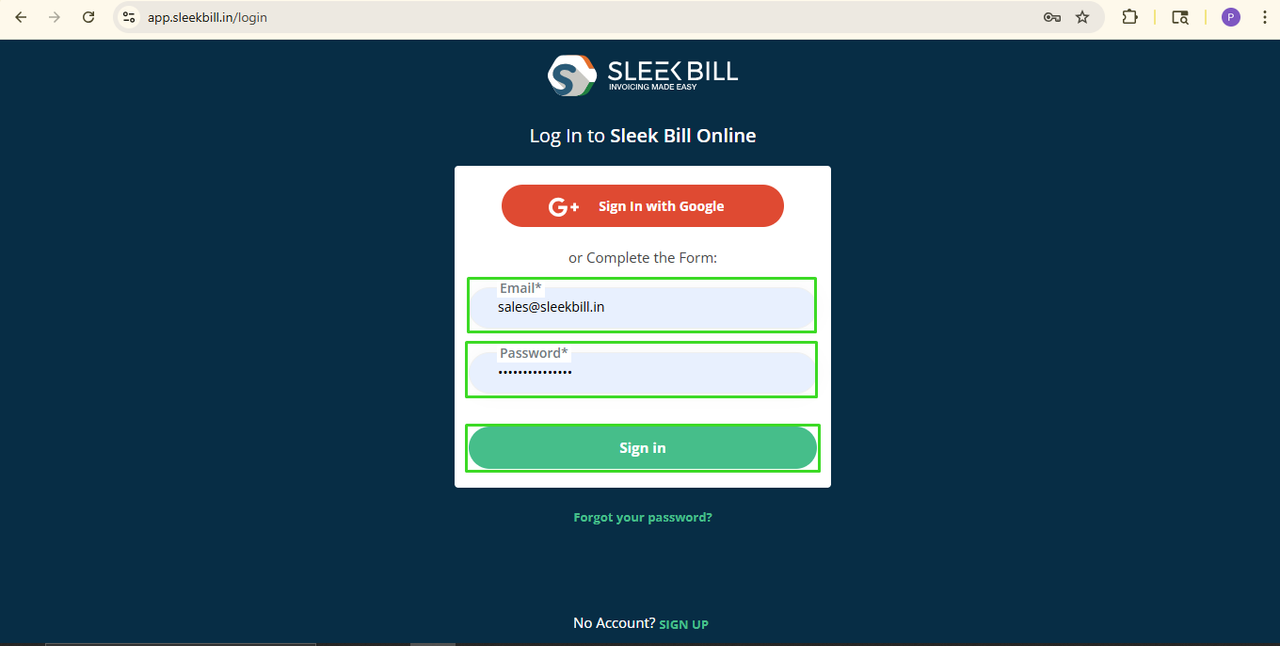 Step 4: Once you reach the dashboard, scroll down and click on the Preferences tab.
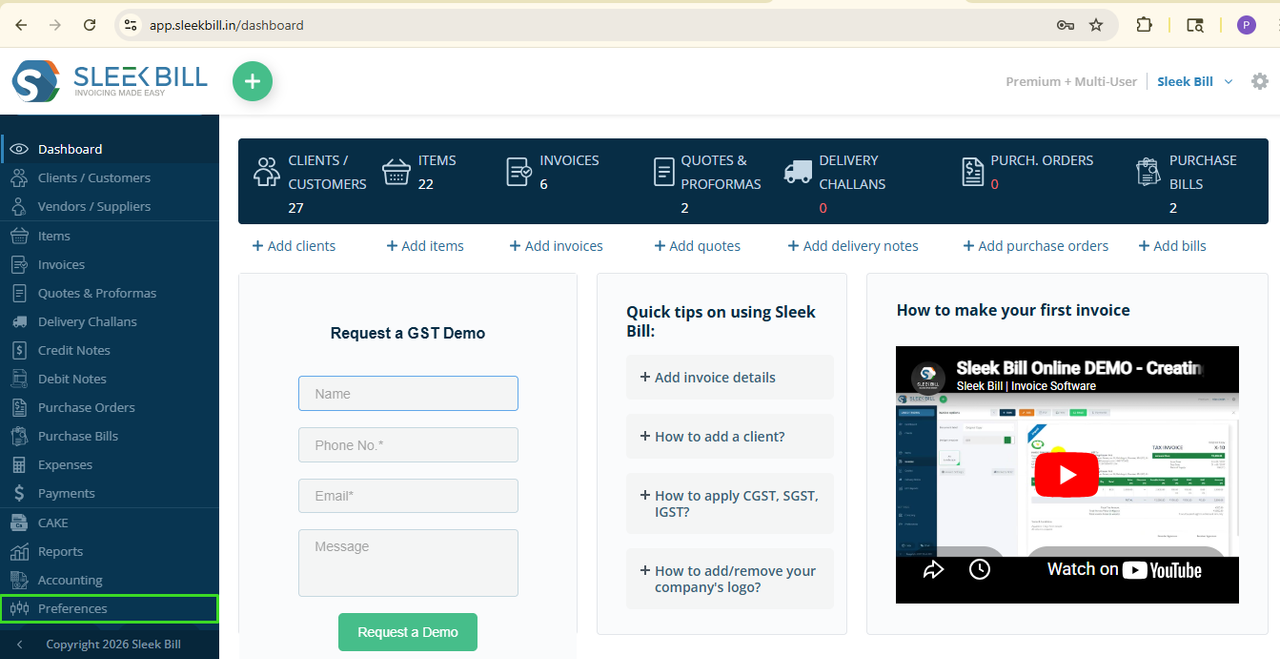
Step 5: In the General settings, scroll down at last to find the Your Signature option.
You will see three types of signatures:
- Primary Signature: The seller’s signature confirming the accuracy of invoice details.
- Secondary Signature: An approval signature by a manager or accountant.
- Image Signature: A digital stamp or uploaded signature image.
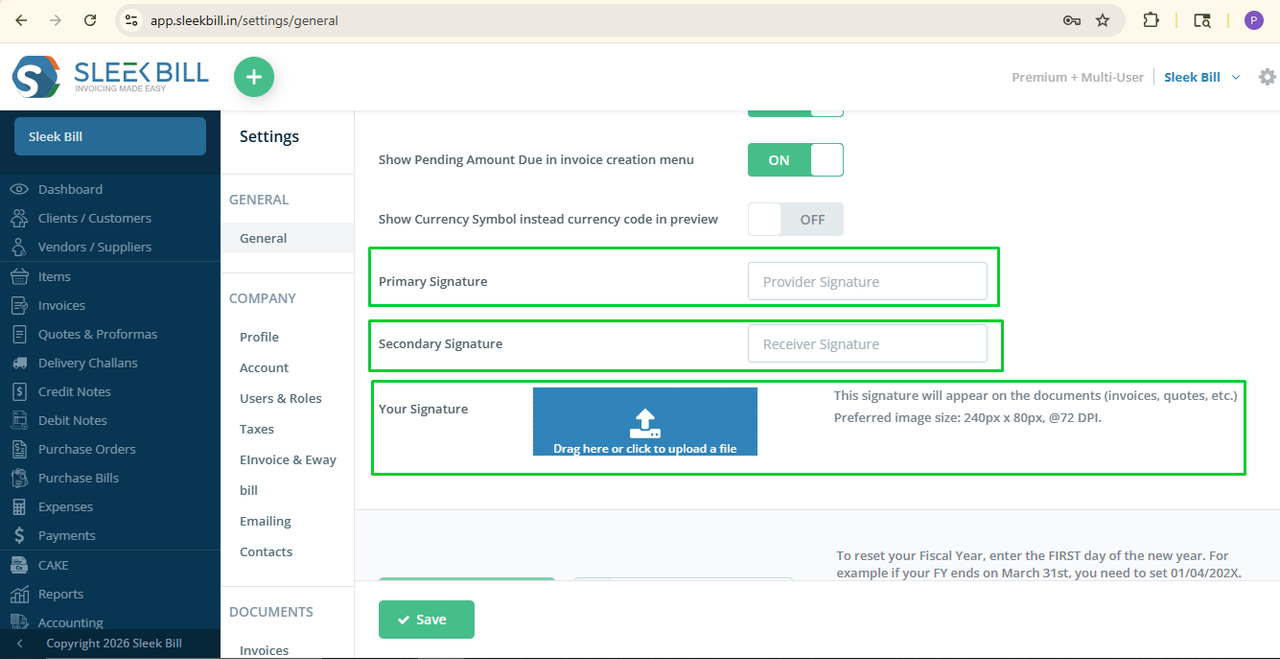 Step 6: Upload your signature in the blue upload box., enter primary signature, and secondary if you want Signature should be in jpg or PNG format, and Preferred image size: 240px x 80px, @72 DPI.
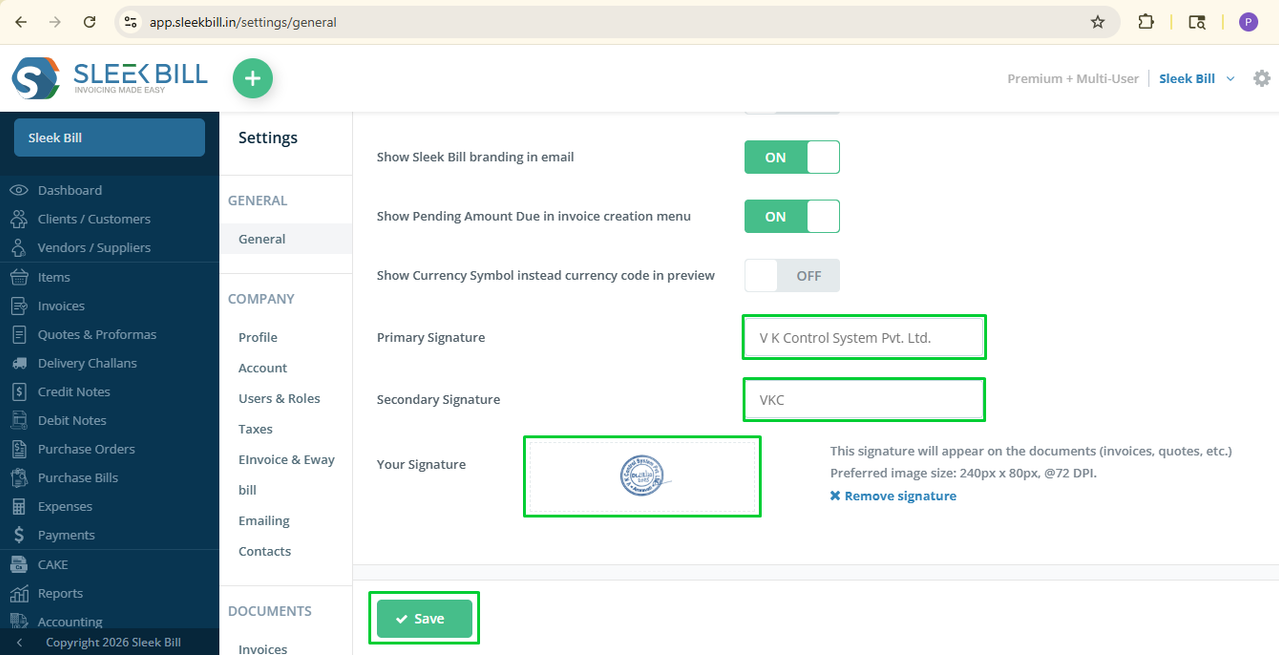 Step 7: Click on Save button. That’s it!
Step B: Enable Signature on Documents
Step 1: Scroll down Go to the Documents tab. Select Invoices or any document where you want the signature to appear.
 Step 2: Here you will find Show Primary Signature Show Secondary Signature
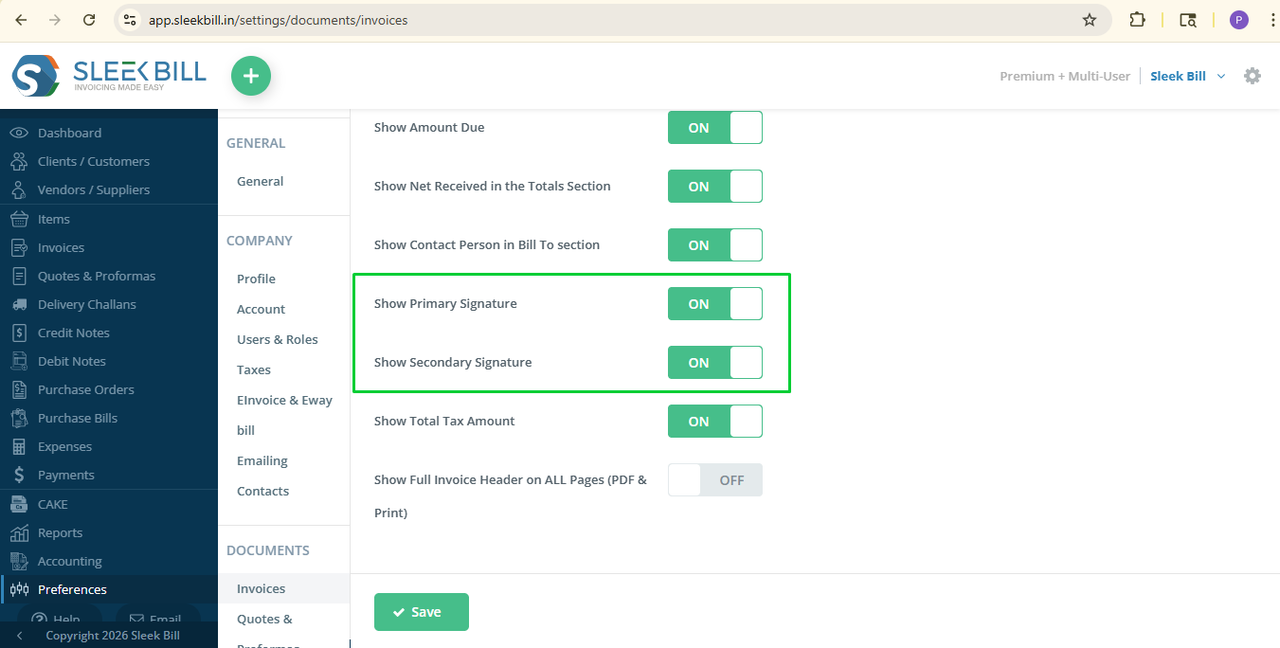
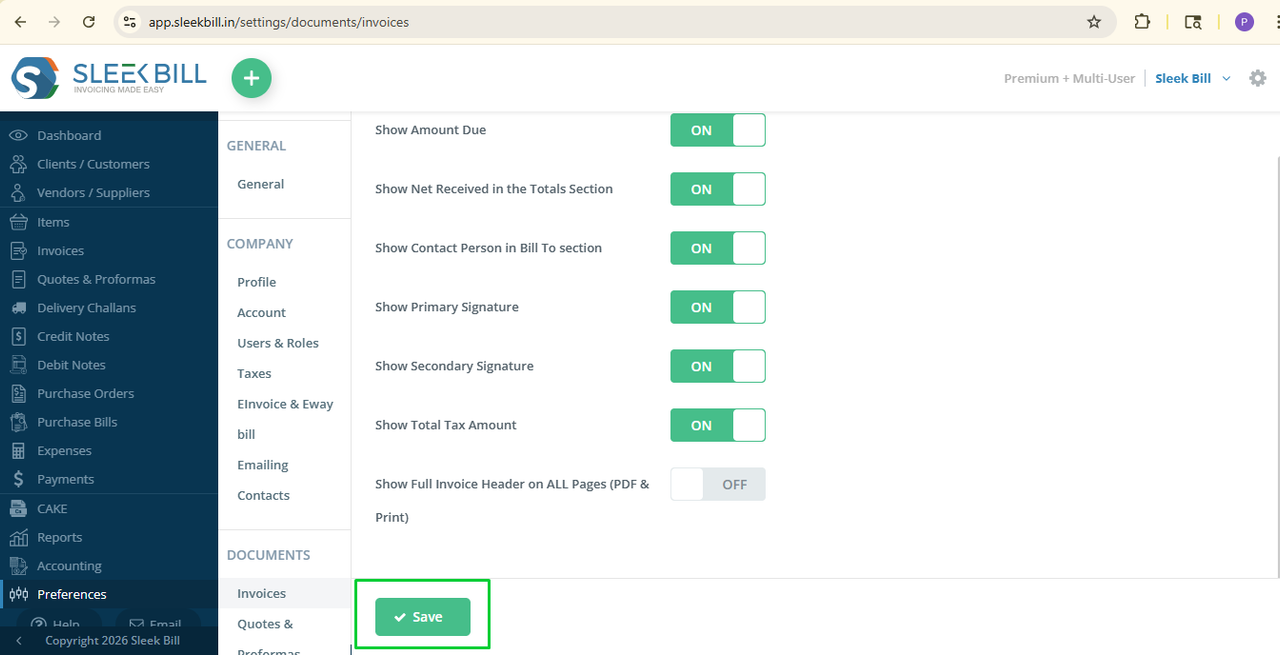
Step 3: Turn on: Show Primary Signature and Show Secondary Signature
Step 4: Click Save button.
 Note: Follow the Step B for each document like Quotation, Purchase Bill etc. where you want to display the signature.
From now on, whenever you create a new document such as an invoice or quotation the signature will automatically appear.
- Go on Dashboard
- Click on invoices tab
- Click on new button either you can edit also
- Select client, products click on preview and save
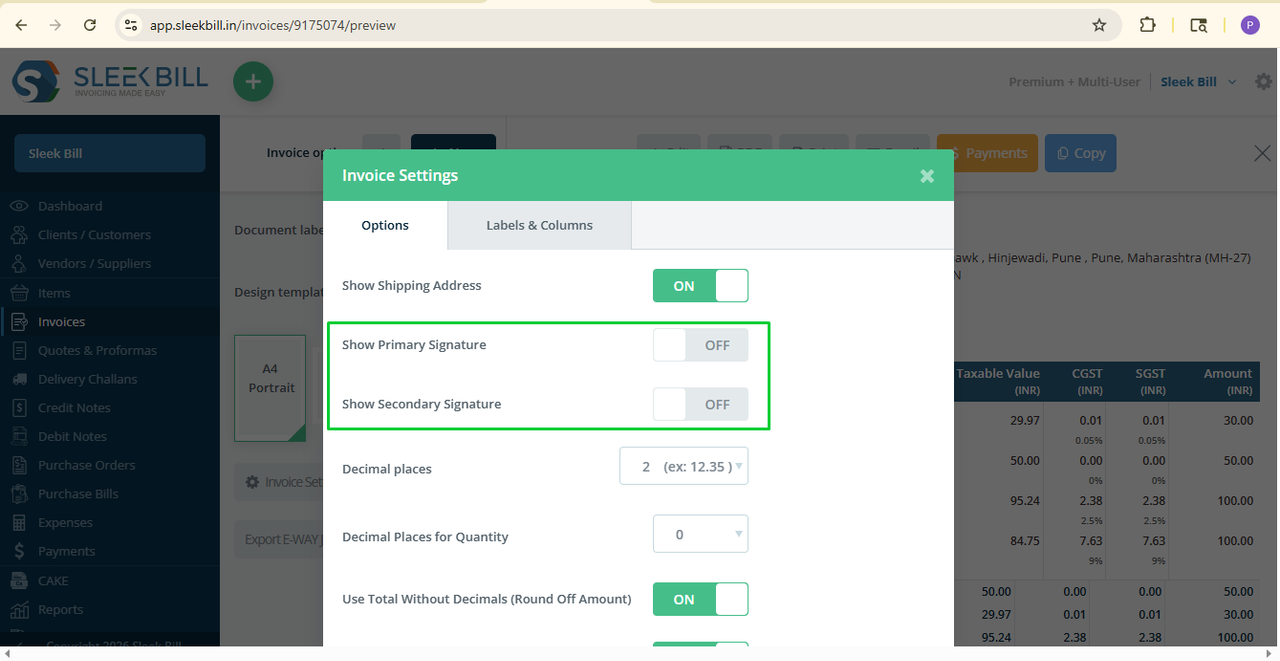
- In preview, click on Invoice Setting button
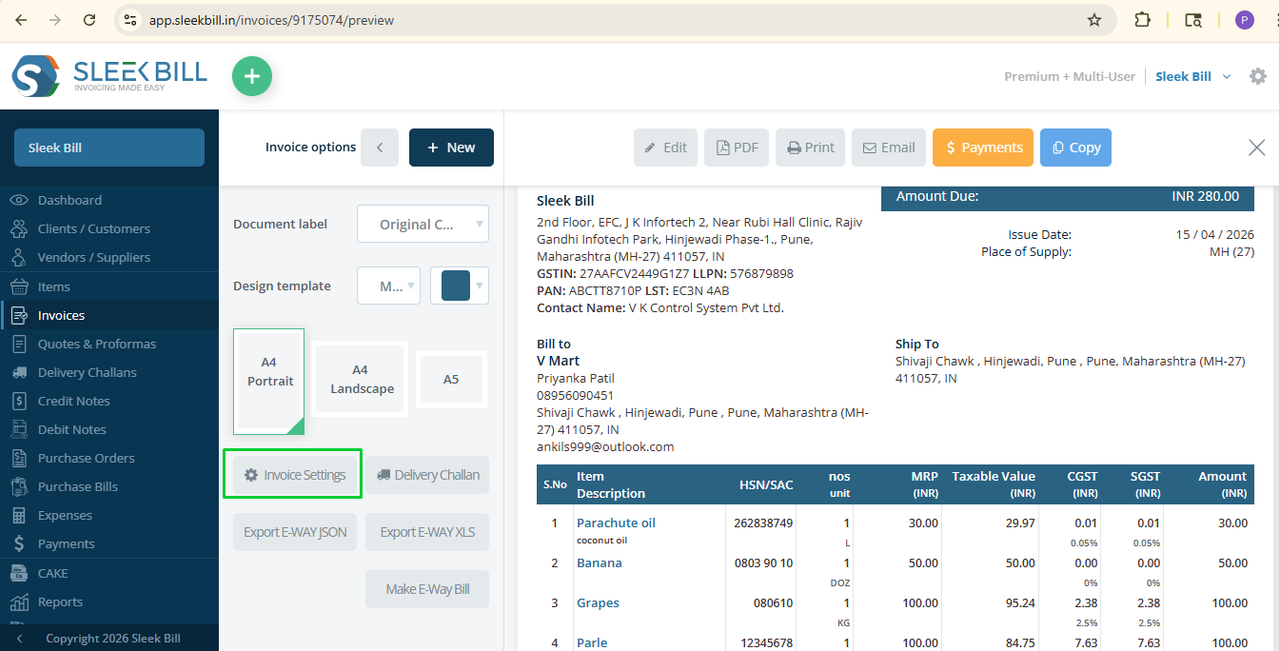
- Initially Show Primary Signature & Show Secondary Signature button off
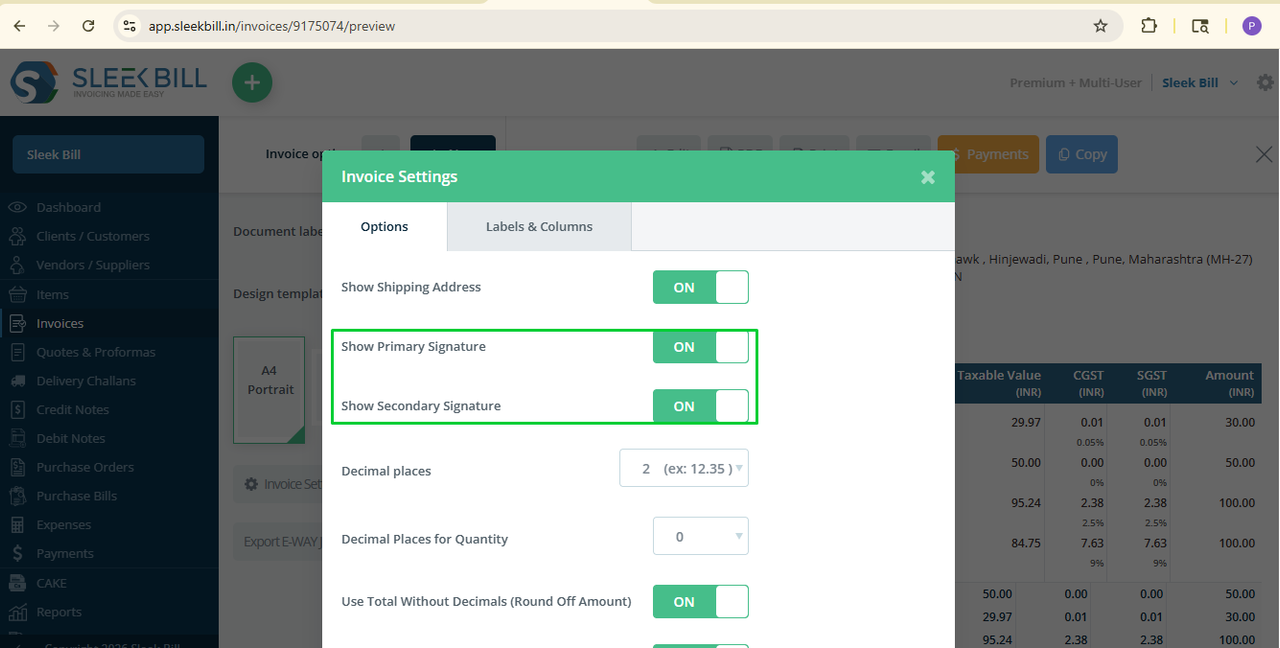
- Make Show Primary Signature button on and Make Show Secondary Signature button on.
- Scroll down to bottom click on Save button
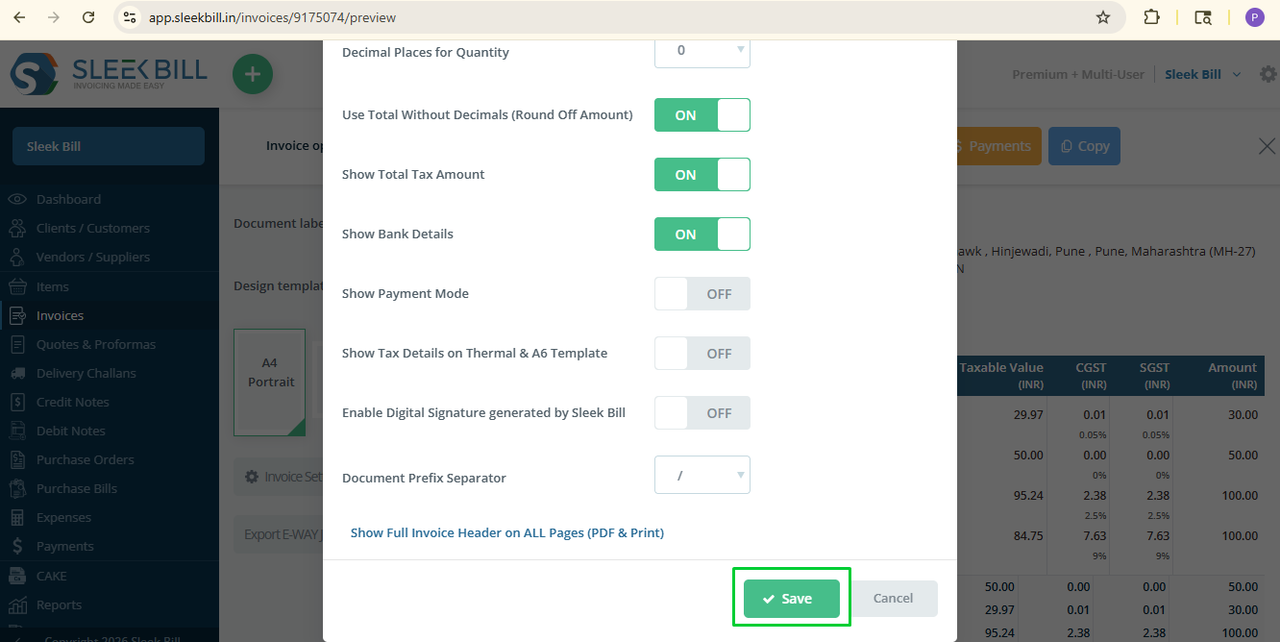 Here your invoice ready with your Signature
Conclusion
Signatures can be easily added to any bill using Sleek Bill. By signing your bills or business paperwork, you add a touch of professionalism. The small act is quite significant in that it demonstrates your seal of approval. Get started with digital signatures now and make your billing process both secure and polished. You’ll find this guide in the Sleek Bill Knowledge Hub, where we break down billing so it’s easier and faster for your business.
Was this article helpful?