🧾 Billing & Invoicing
How To Show Contact Person In Vendor Section In Purchase Bill
A Purchase Bill contains important vendor details that help businesses maintain accurate purchase records and improve communication with suppliers. Displaying the vendor's contact person on the Purchase Bill makes it easier to identify the responsible representative and ensures smooth coordination for orders, payments, and follow-ups.
With billing software, you can easily enable the Contact Person field in the Vendor section of your Purchase Bill template.
Steps to Show Contact Person in Vendor Section in Purchase Bill
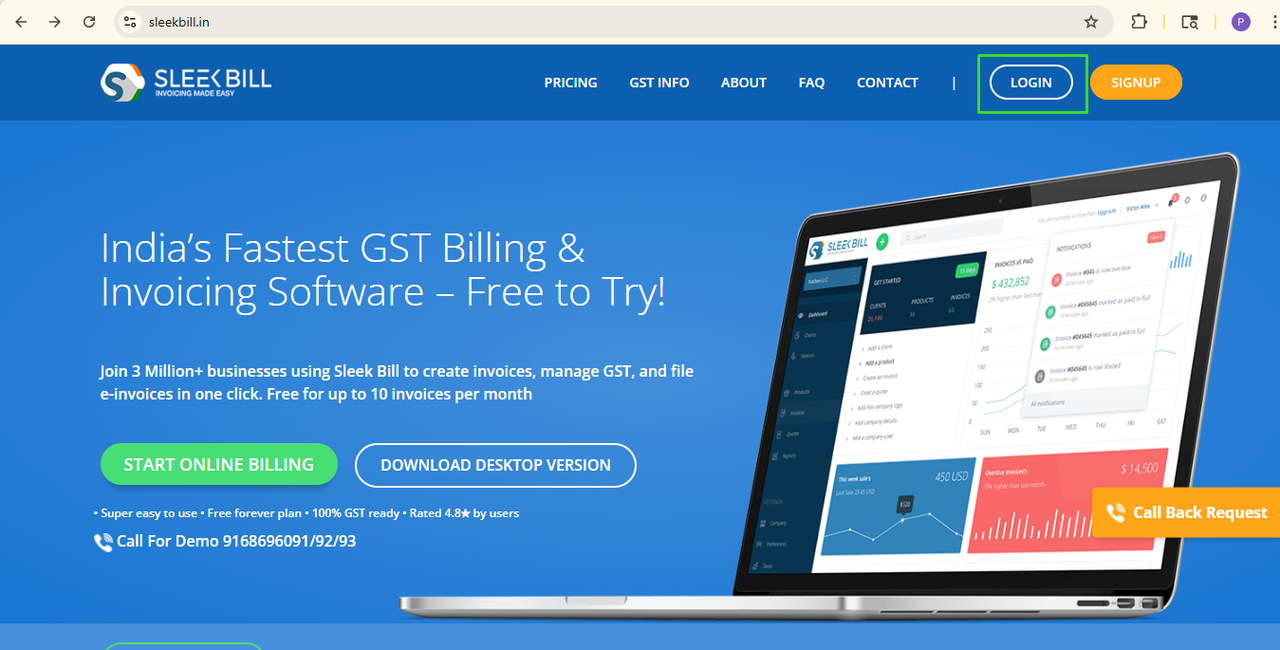
Step 1 : Open your preferred web browser and visit www.sleekbill.in. Then click on login button at top right corner.
Step 2 : Enter your registered Email ID and Password, then click on Sign In.
.png)
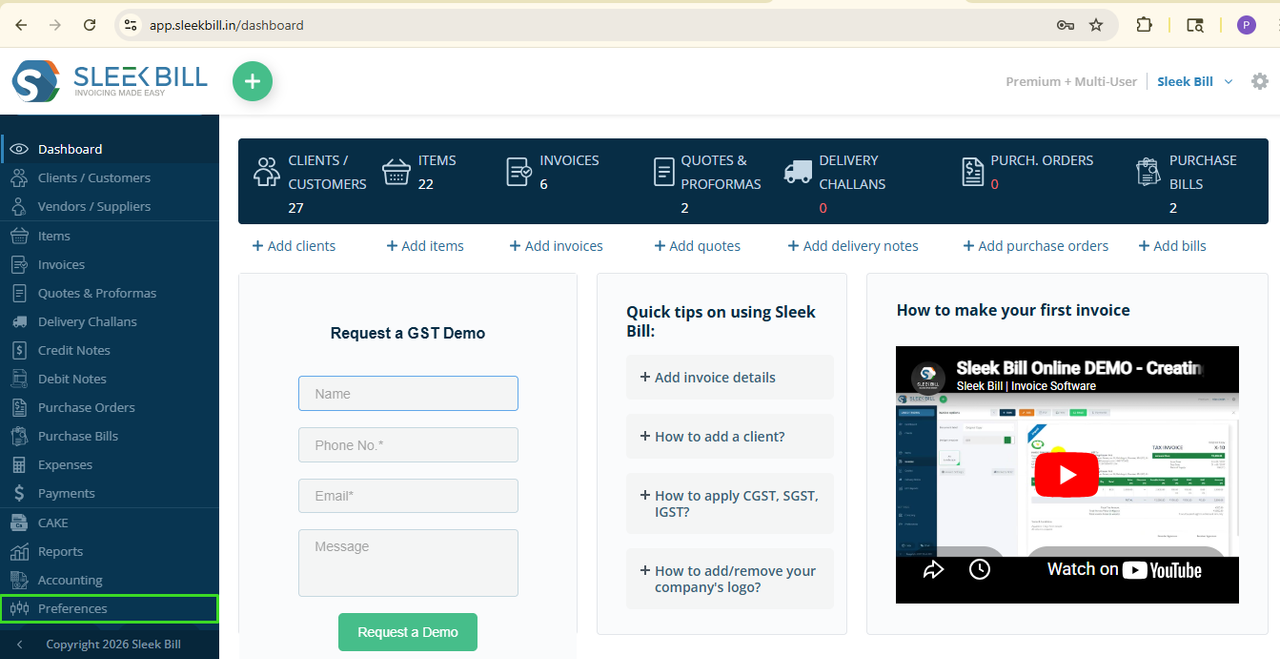
Step 3 : After successful login, you will be redirected to the dashboard. From the left-side menu, click on Preferences.
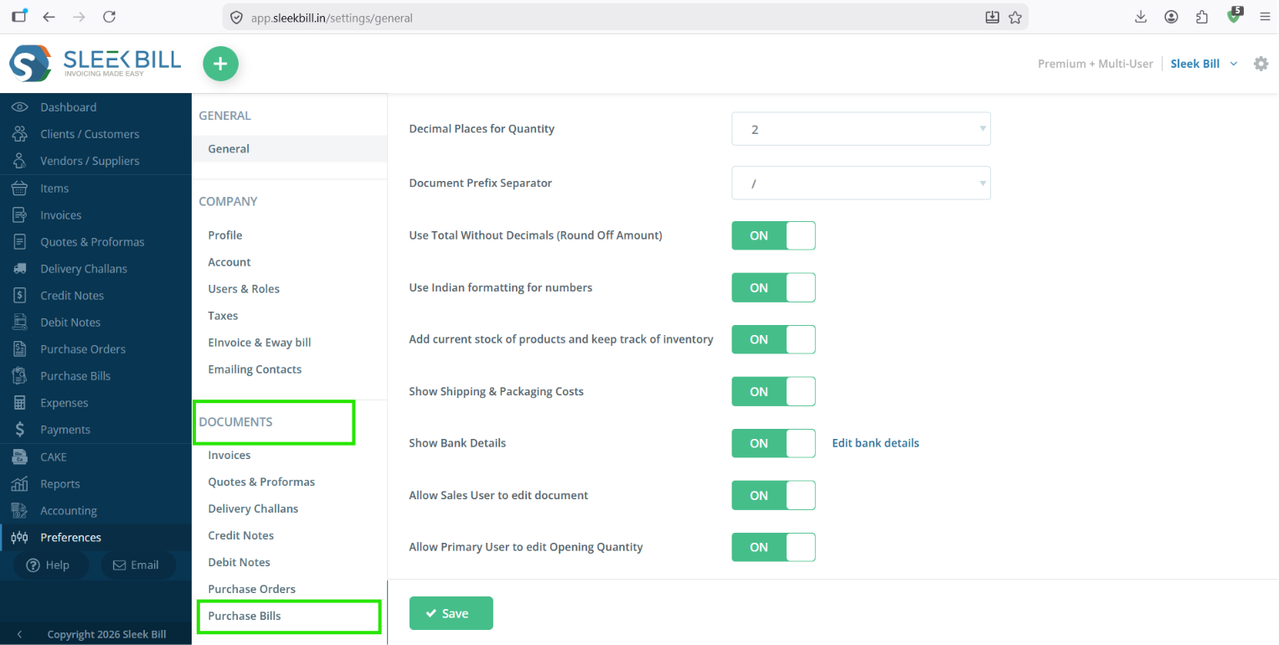
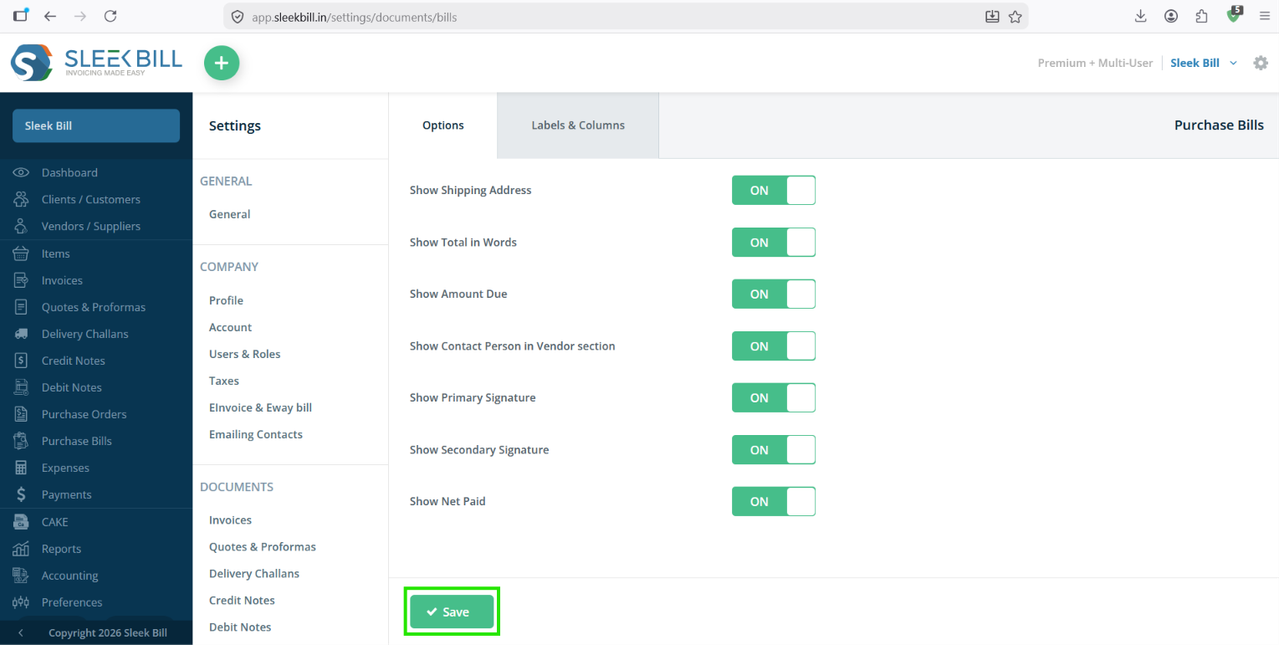
Step 4 : Under Preferences, select Purchase Bill section.
Step 5 : Locate the option Show Contact Person in Vendor Section and enable the toggle button ON.
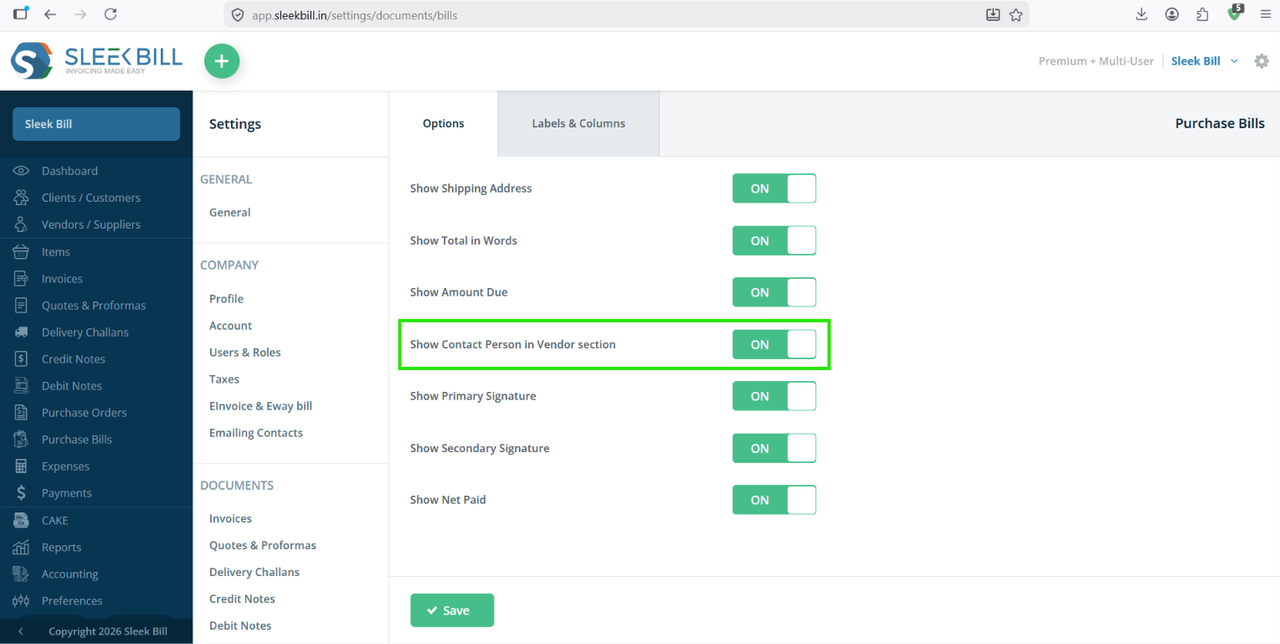
Step 6 : Click on Save to apply the changes.
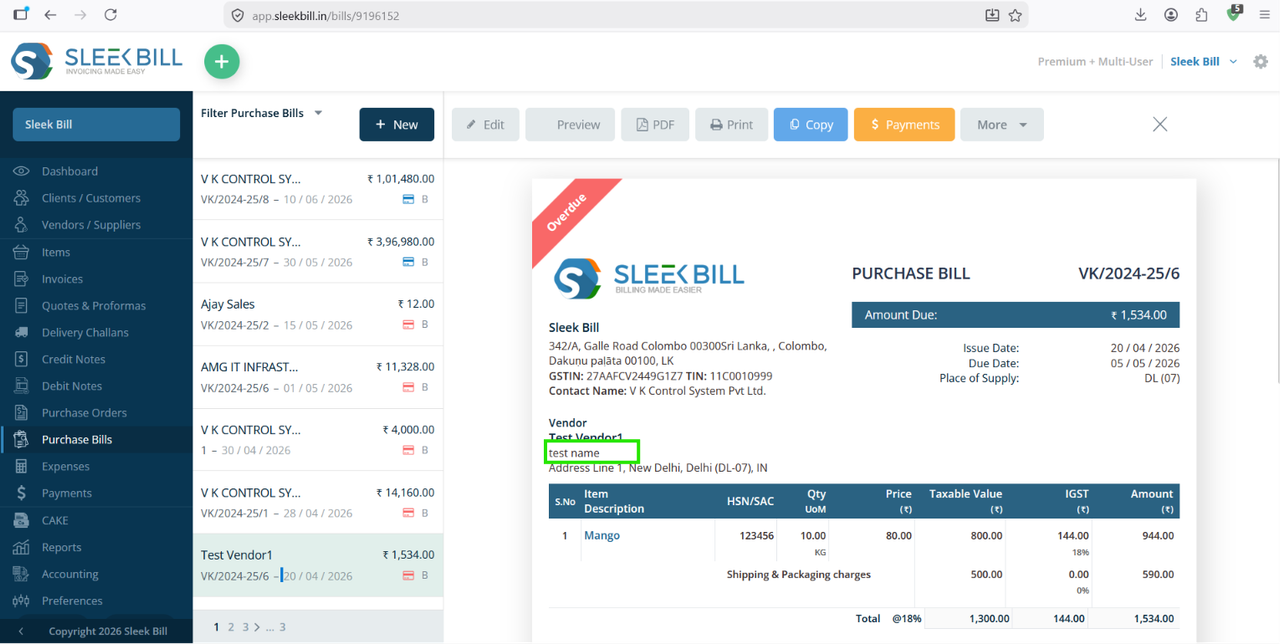
Create a new Purchase Bill or open an existing Purchase Bill and use the Print Preview option to verify that the vendor's contact person is displayed in the Vendor section.
Benefits of Displaying Contact Person in Purchase Bills
- Quickly identify the vendor representative associated with the purchase.
- Improve communication and follow-up with suppliers.
- Maintain more detailed and professional purchase records.
- Reduce confusion when dealing with vendors that have multiple contacts.
Once enabled, the contact person's name will automatically appear in the Vendor section of all Purchase Bills where vendor contact details have been entered.
Was this article helpful?