🧾 Billing & Invoicing
How To Show Net Paid Amount In Purchase Bill In Sleek Bill
Keeping track of vendor payments is essential for maintaining accurate purchase records and managing cash flow effectively. Sleek Bill allows you to display the Net Paid Amount in your Purchase Bills, helping you quickly identify how much has been paid against each bill and the remaining outstanding balance.
Follow the steps below to enable the Net Paid Amount field in your Purchase Bills.
Steps to Show Net Paid Amount in Purchase Bill
Step 1 : Open your preferred web browser and visit www.sleekbill.in. Click on the Login button available at the top-right corner of the website.
.png)
Step 2 : Enter your registered Email ID and Password, then click on the Sign In button.
.png)
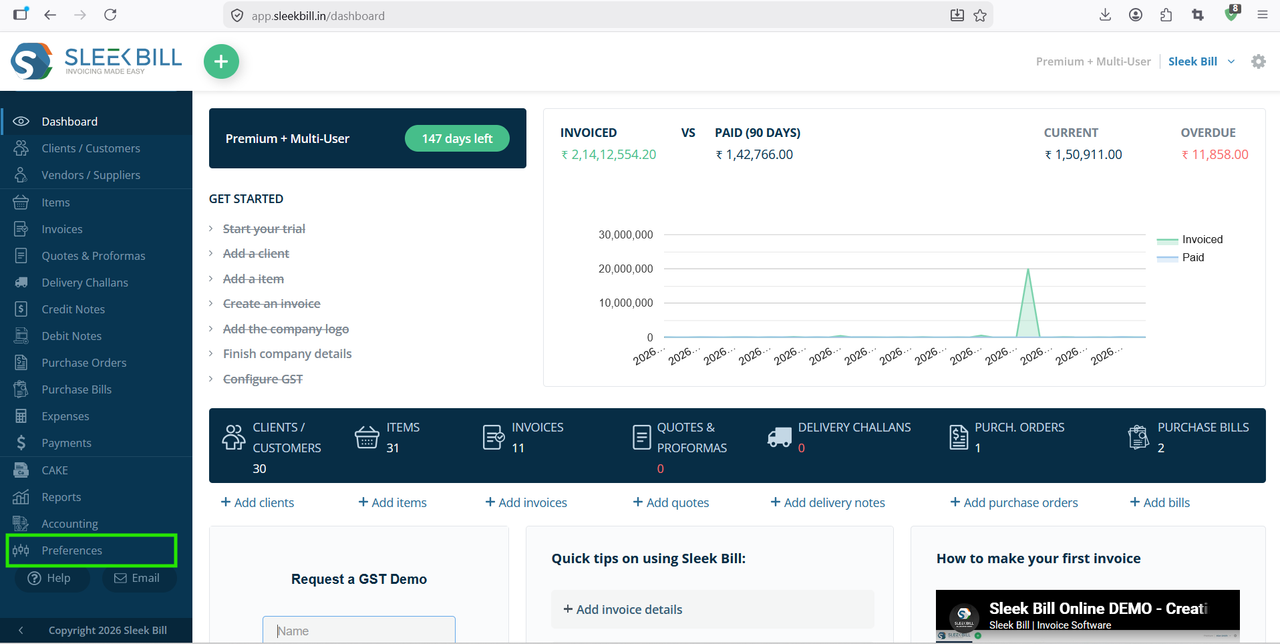
Step 3 : After successful login, you will be redirected to the Sleek Bill dashboard. From the left-side navigation menu, click on Preferences.
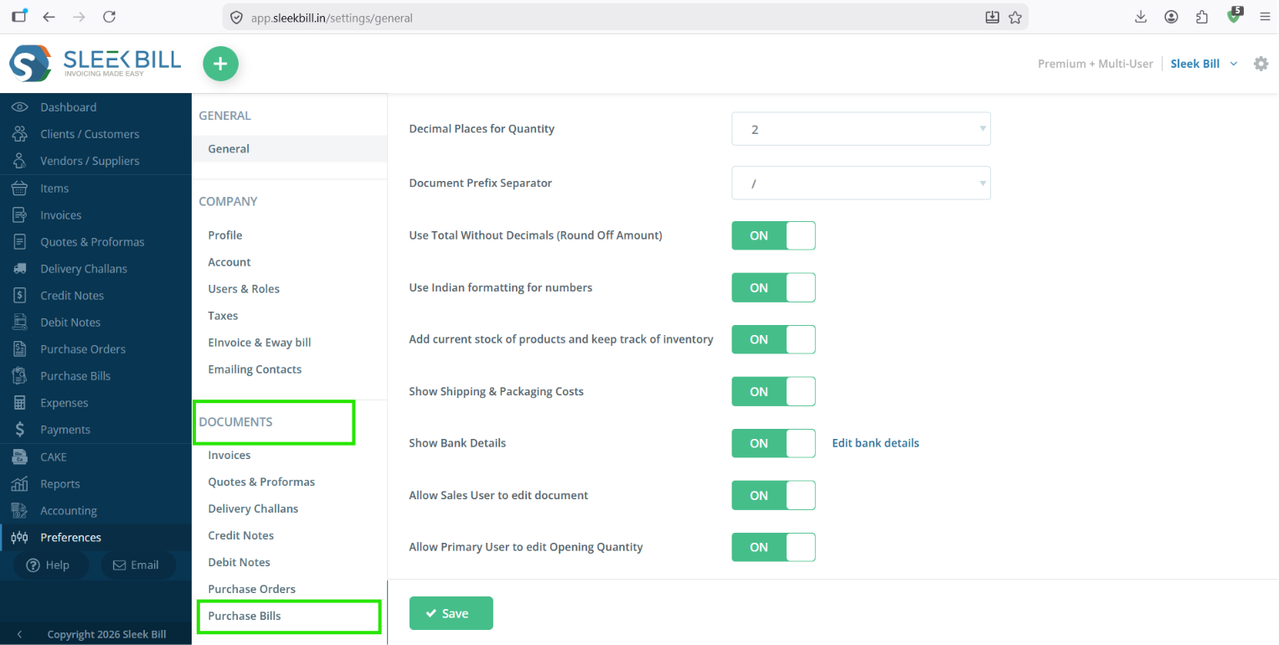
Step 4 : Under the Preferences section, click on Documents and select Purchase Bill from the list of available document types.
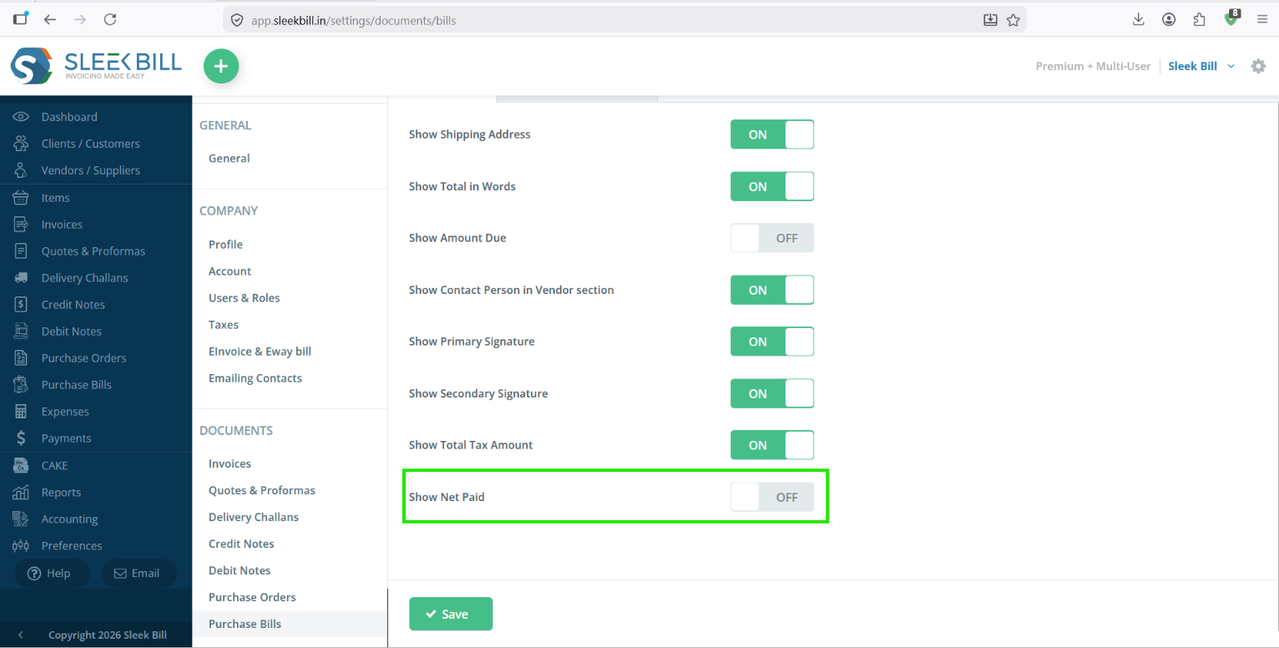
Step 5 : Locate the Net Paid option in the available columns list and enable it by toggle it ON.
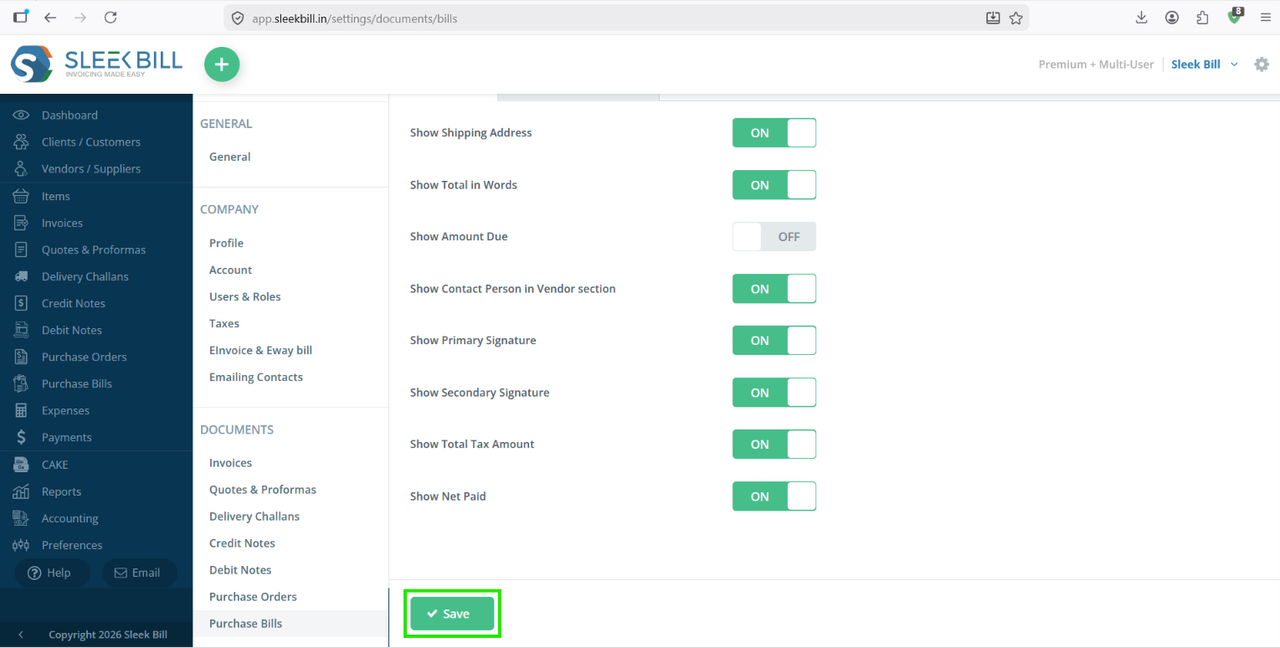
Step 6 : Click on the Save button to apply the changes.
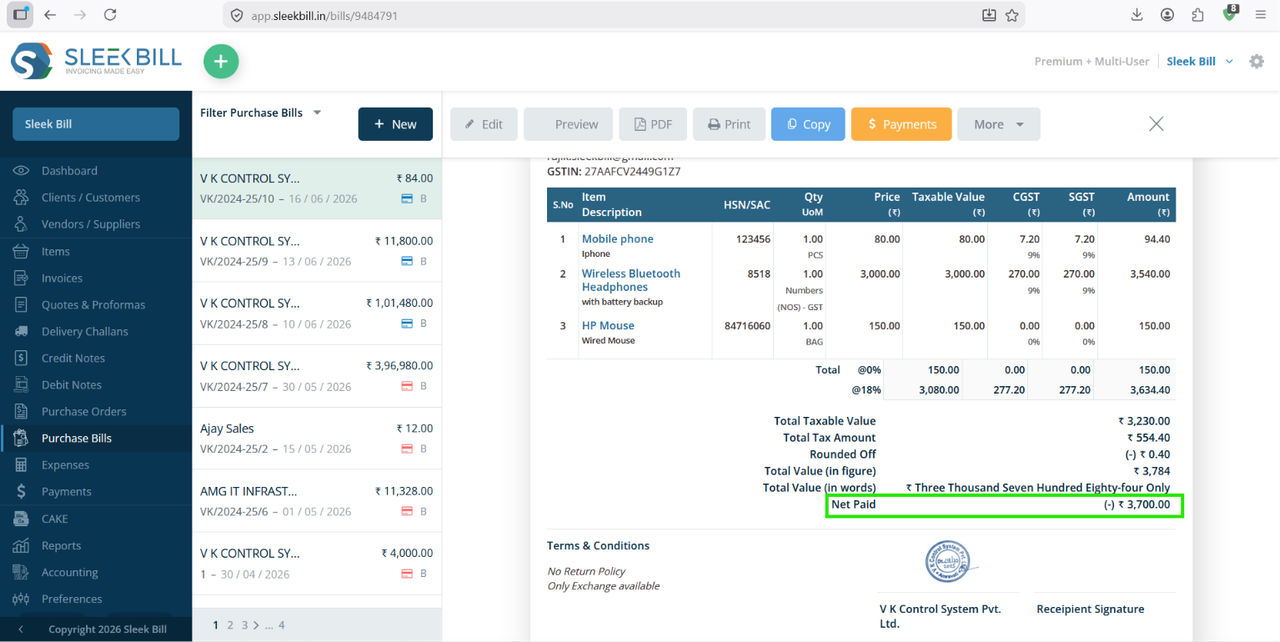
Create a new Purchase Bill or open an existing one. The Net Paid Amount column will now be visible in the Purchase Bill, allowing you to view the amount paid against the bill.
Benefits of Showing Net Paid Amount in Purchase Bills
- Track vendor payments more accurately.
- Instantly view paid and outstanding amounts.
- Improve purchase and expense management.
- Reduce payment-related errors and confusion.
- Maintain better financial records and audit trails.
Conclusion
Displaying the Net Paid Amount in Purchase Bills helps businesses monitor supplier payments efficiently and maintain clear financial records. With Sleek Bill's customizable document settings, you can easily enable this field and gain better visibility into your purchase transactions.
Was this article helpful?