🧾 Billing & Invoicing
How to Show Primary and Secondary Signatures in Purchase Bill
Adding signatures to your Purchase Bills helps improve document authenticity and ensures proper approval before sharing with vendors or maintaining records. With Sleek Bill, you can easily display both Primary and Secondary Signatures on your Purchase Bills.
Steps to Show Primary and Secondary Signatures in Purchase Bill
Step 1 : Open your preferred web browser and visit www.sleekbill.in. Click on the Login button.

Step 2 : Enter your registered Email ID and Password, then click on Sign In to access your account.
.png)
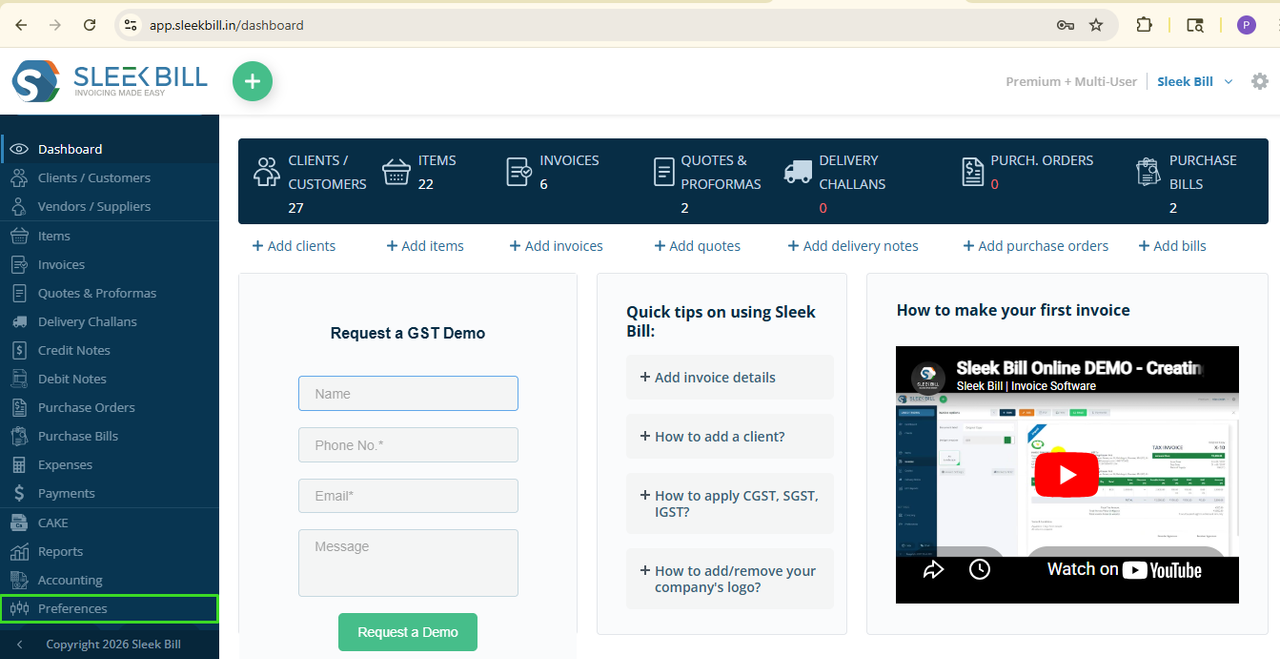
Step 3 : After logging in successfully, you will be redirected to the dashboard. From the left-side navigation menu, click on Preferences.
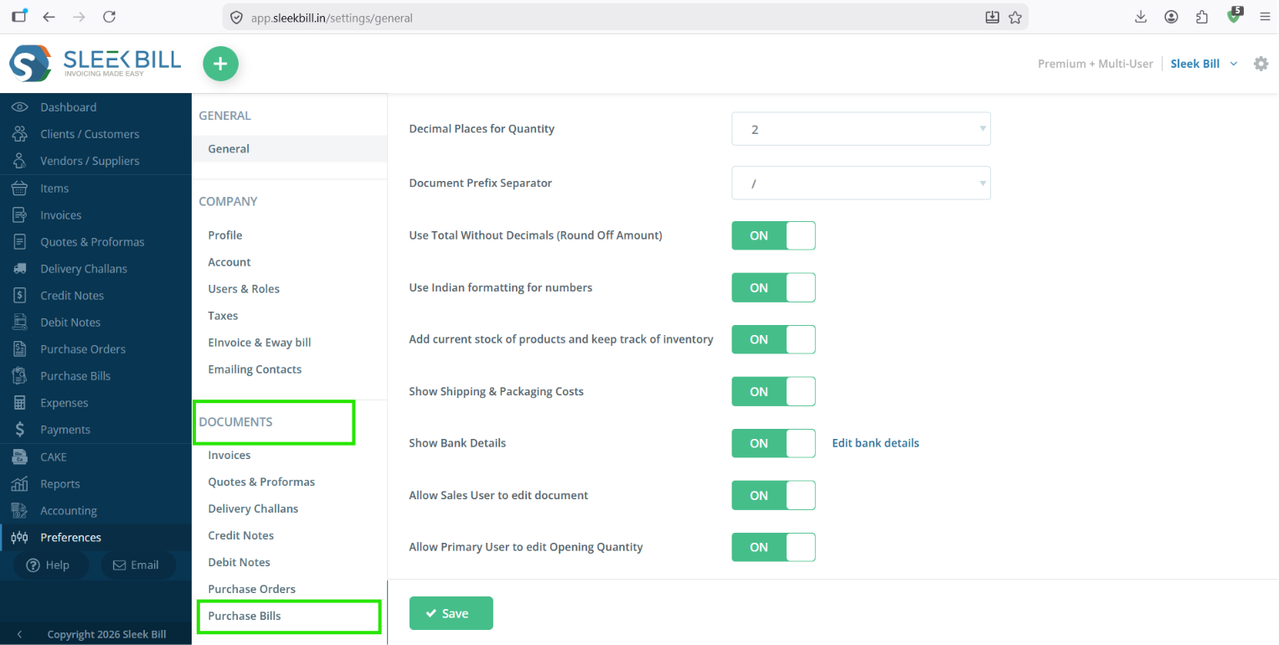
Step 4 : Under Preferences, click on Documents and then select Purchase Bill
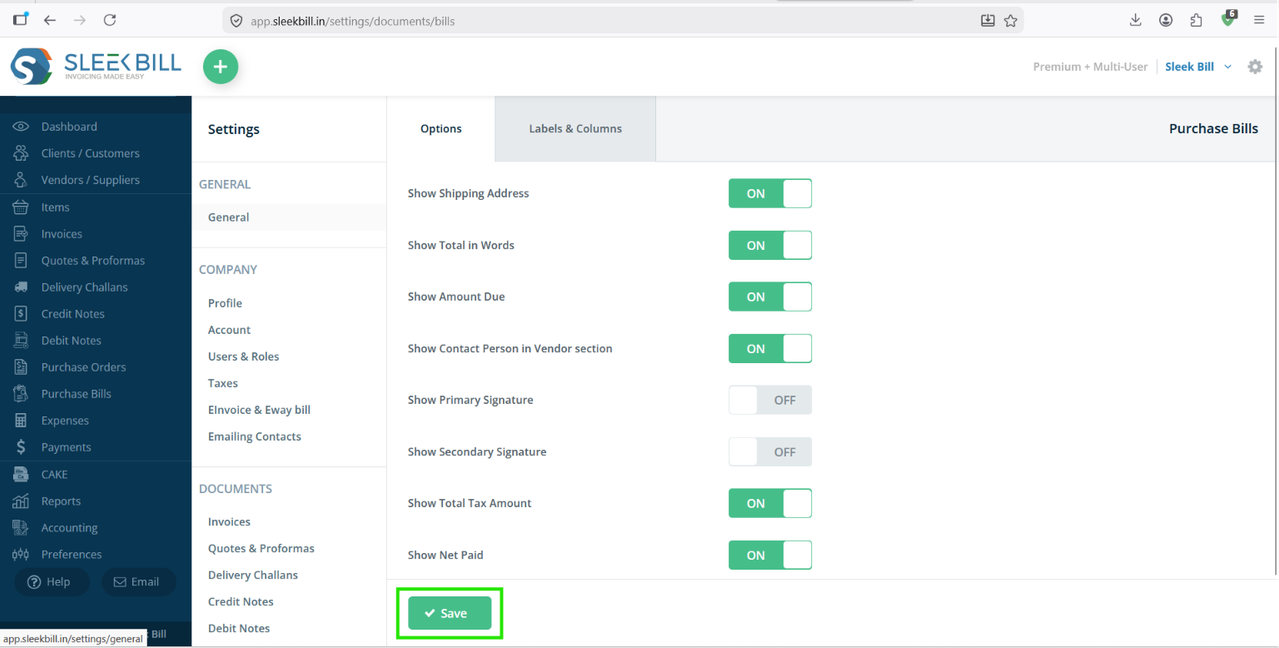
Step 5 : Enable the options: Show Primary Signature and Show Secondary Signature. You can choose to display either one or both signatures based on your business requirements.

Step 6 : Click on the Save button to apply the updated settings.
Create a new Purchase Bill or open an existing one and click Preview. The selected Primary and Secondary Signatures will now be displayed on the document.

Benefits of Adding Signatures to Purchase Bills
- Improves document authenticity and credibility.
- Ensures approval from authorized personnel.
- Maintains professional vendor communication.
- Helps streamline internal purchase approval processes.
- Reduces confusion regarding document authorization.
Conclusion
Displaying Primary and Secondary Signatures in Purchase Bills is a simple yet effective way to make your purchase documents more professional and trustworthy. By enabling signature settings in Sleek Bill, you can ensure every Purchase Bill carries the required approvals and maintains proper business records.
Was this article helpful?