How to Show Shipping Address on Purchase Bill in Sleek Bill?
Welcome to the
Sleek Bill Knowledge Hub!
Here in this
article, you will learn how to show the Shipping Address on a Purchase Bill in
Sleek Bill.
When you show the shipping address on a Purchase Bill, it helps to understand where the goods are being sent, especially if the company has different billing and delivery addresses.
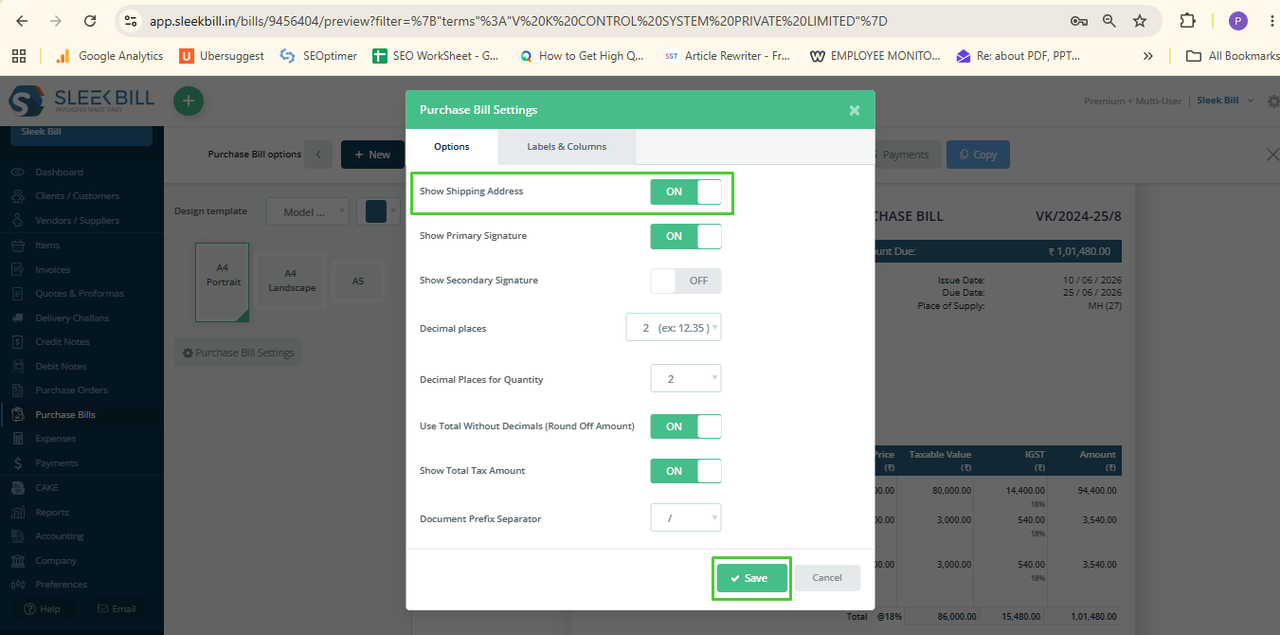
The Show
Shipping Address option enables showing the selected address as the shipping
address on Purchase Bills. This gives the documents a more professional look and
makes handling them easier.
Why Show the Shipping Address on a Purchase Bill?
Adding the
shipping address to your Purchase Bill offers several advantages:
- Clearly indicates the place where purchased items are to be delivered.
- Prevents shipment error and late delivery.
- Allows easier communication with all of your suppliers/vendors.
- Improves the appearance of the Purchase Bills, making them more professional and systematic.
- Very suitable if you are a company with many warehouses, branches and delivery points.
Steps to Enable Shipping Address on Purchase Bill
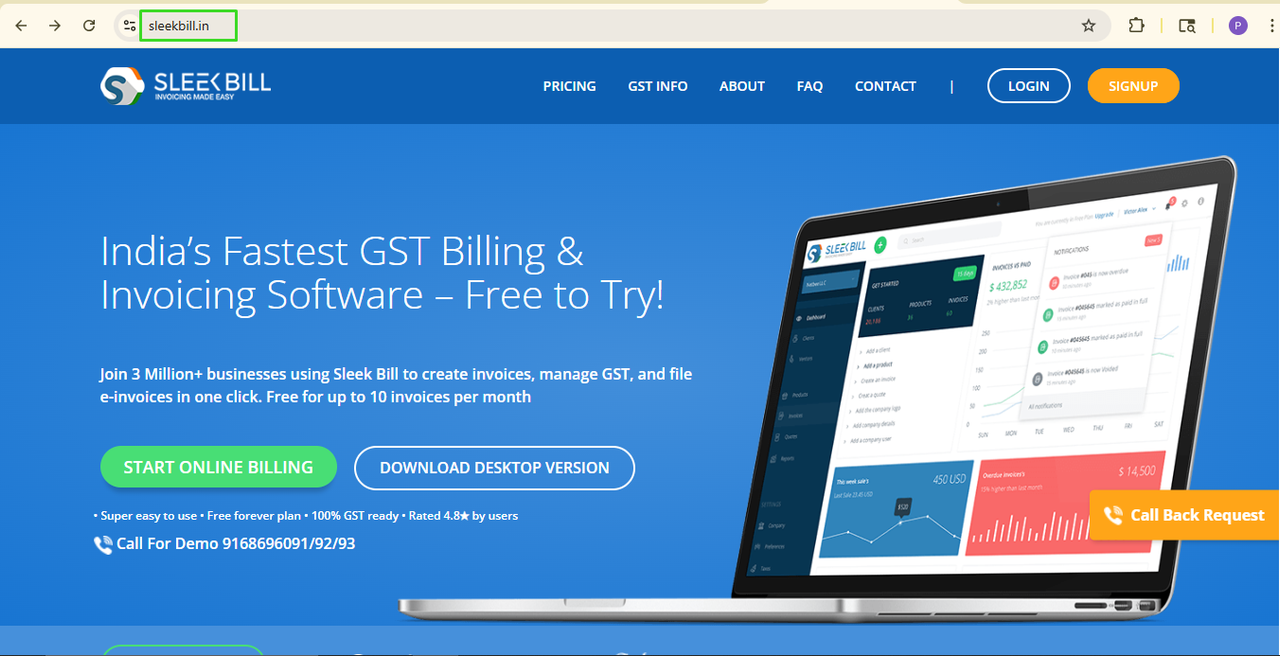
Step 1: Open Sleek Bill
Open a web browser and open the Sleek Bill website.
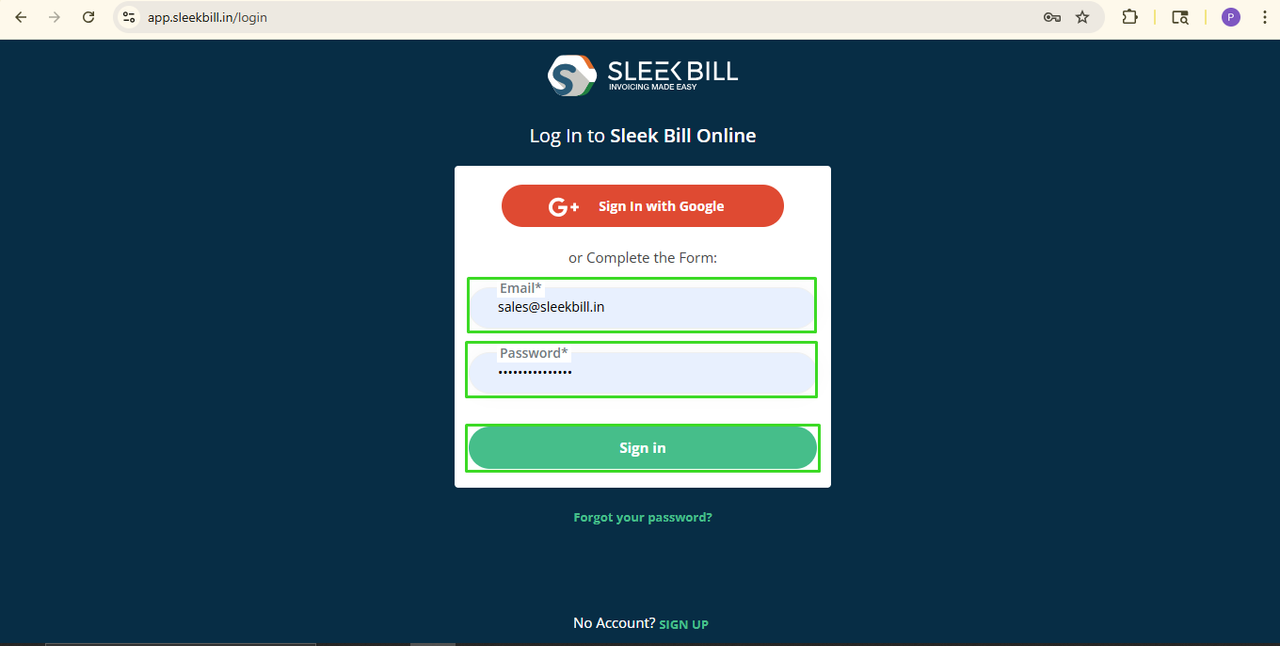
Step 2: Log In to Your Account
Click on the
Login button given in the top left corner.

Step 3: Enter your Email ID and Password, then click the Sign In button
Now, you will
be redirected to the Sleek Bill Dashboard.
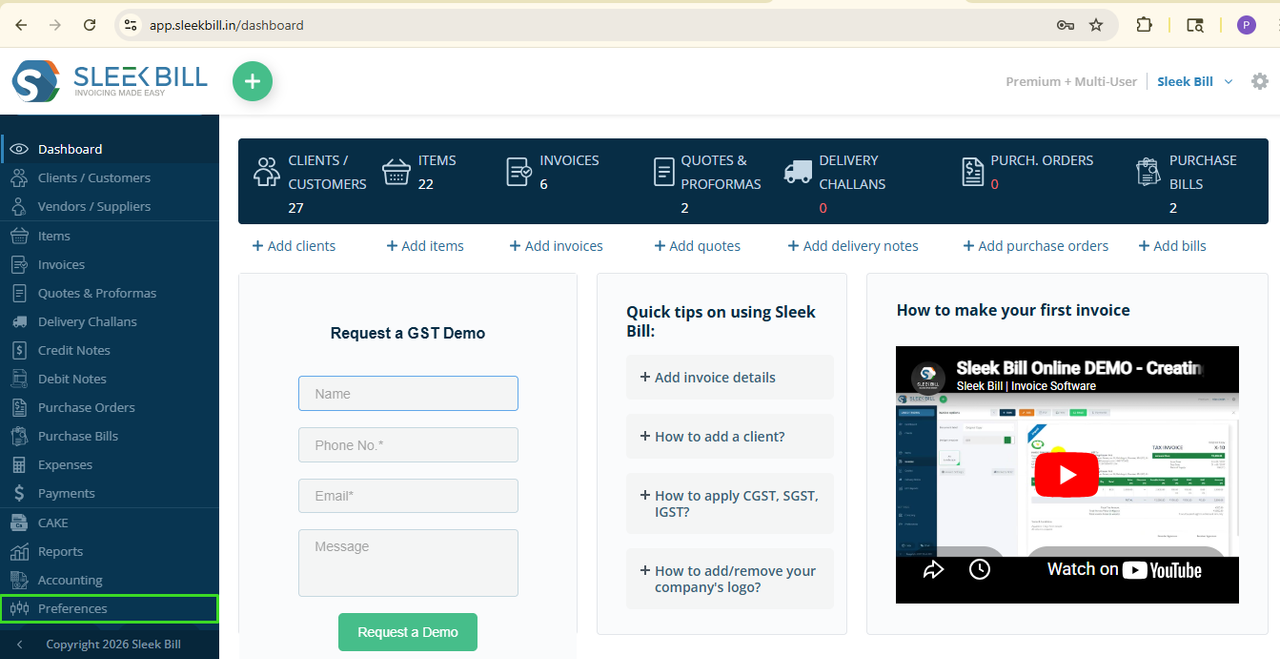
Step 4: Click on the Preferences Tab
From the
Dashboard, click on Preferences.
Step 5: Open Purchase Bill Settings
Click on the
Purchase Bill tab.

Step 6: Enable Show Shipping Address
Locate the Show
Shipping Address option and turn it ON.
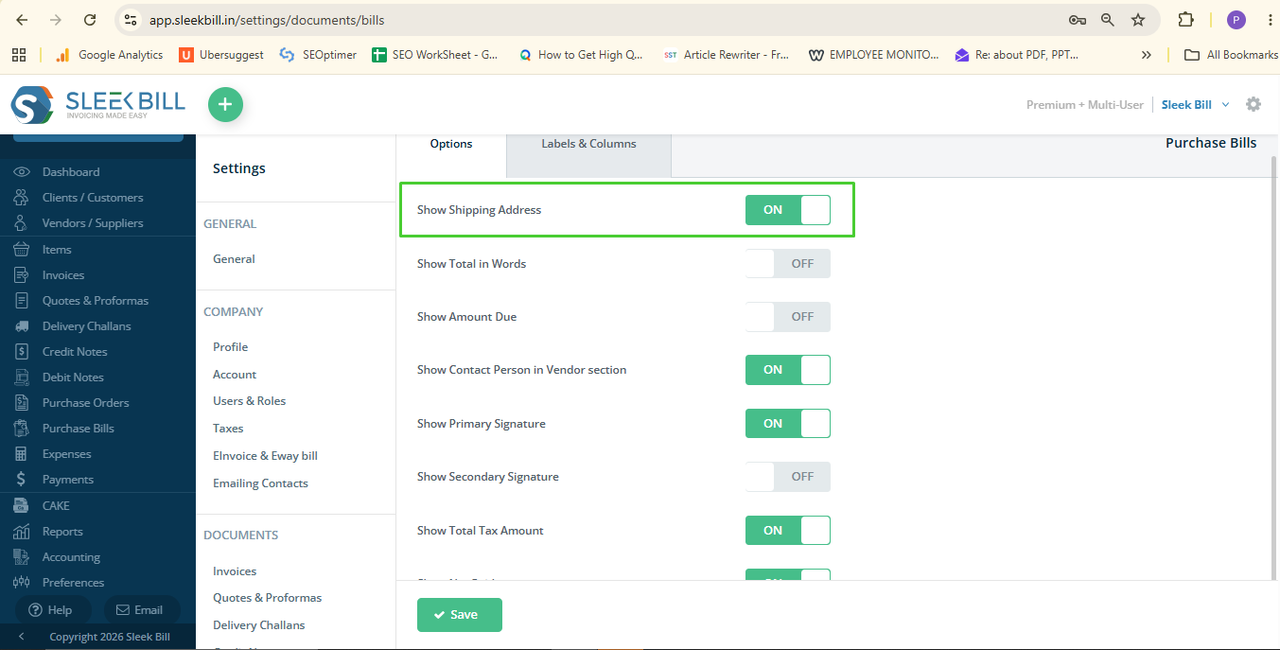
Step 7: Save the Changes
Click the Save
button. That's it!
From now on,
whenever you create a new Purchase Bill, the Shipping Address will
automatically appear on the document.
How to Show
Shipping Address on Existing Purchase Bills
You can also
enable the Shipping Address on Purchase Bills that have already been created.
Step 1: Go to the Purchase Bill section and open the Purchase Bill you want to update.
Step 2: Click the Edit button.
Step 3: Click Preview and Save.
Step 4: In the Preview window, click the Purchase Bill Settings button.
Step 5: Turn on the Show Shipping Address option.
Step 6: Click Save.
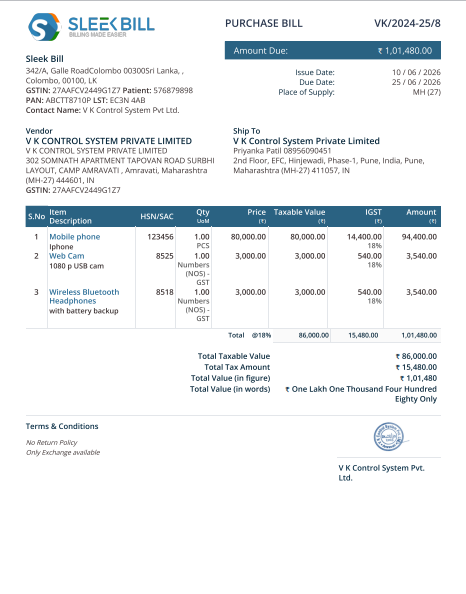
The Shipping
Address will now be displayed on the selected Purchase Bill.
How does this feature help your business?
When suppliers can clearly see the delivery location on the Purchase Bill, they can process orders more accurately without requiring additional confirmation.
This helps
businesses:
- Reduce delivery errors
- Improve supplier communication
- Save time during order processing
- Maintain accurate purchasing records
- Streamline procurement operations
This feature is particularly useful for manufacturers, wholesalers, distributors, retailers, and businesses managing multiple delivery locations.
Show Shipping Address is a very simple yet useful setting that enhances the professionalism and accuracy of your Purchase Bills.
Displaying the correct delivery address on your Purchase Bills will help enhance communication with suppliers, reduce shipping errors, and make the purchasing process smoother.
Activate this
setting today and let your Purchase Bills stay clean, crisp, and professional.
Was this article helpful?